We had purchased laminate flooring that was to be used on the front porch floor. Faithful followers saw pictures of the boxes and boxes of it last summer. But...luckily...I procrastinated with the installation. We knew the porch got damp. With the heavy winds and rain this fall it became obvious that the windows need major re-glazing to keep the floor dry. Significant amounts of water found its way onto the porch floor during these storms. Had a "floating floor" been installed the moisture would have gotten below the flooring and created a perfect location for mold growth. We decided to use the flooring in the addition instead.
Over the past few days I worked on installing the floor in the new bedroom. The product is Shaw VersaLock laminate. It has a unique method of locking planks together -- both side to side and end to end. This makes for a very tightly interlocked floor. But the installation turned to be more complex and not simple for one person to complete alone. It took me good parts of two days and a couple hours on a third day to complete a floor about 16 by 12 feet in size.
I took a few pictures at various stages of the project. They are below.
 |
| Here's the room before installation. |
 |
| The first task was to put down a foam/plastic underlayment. Instructions called for this to be run up the walls a couple inches. |
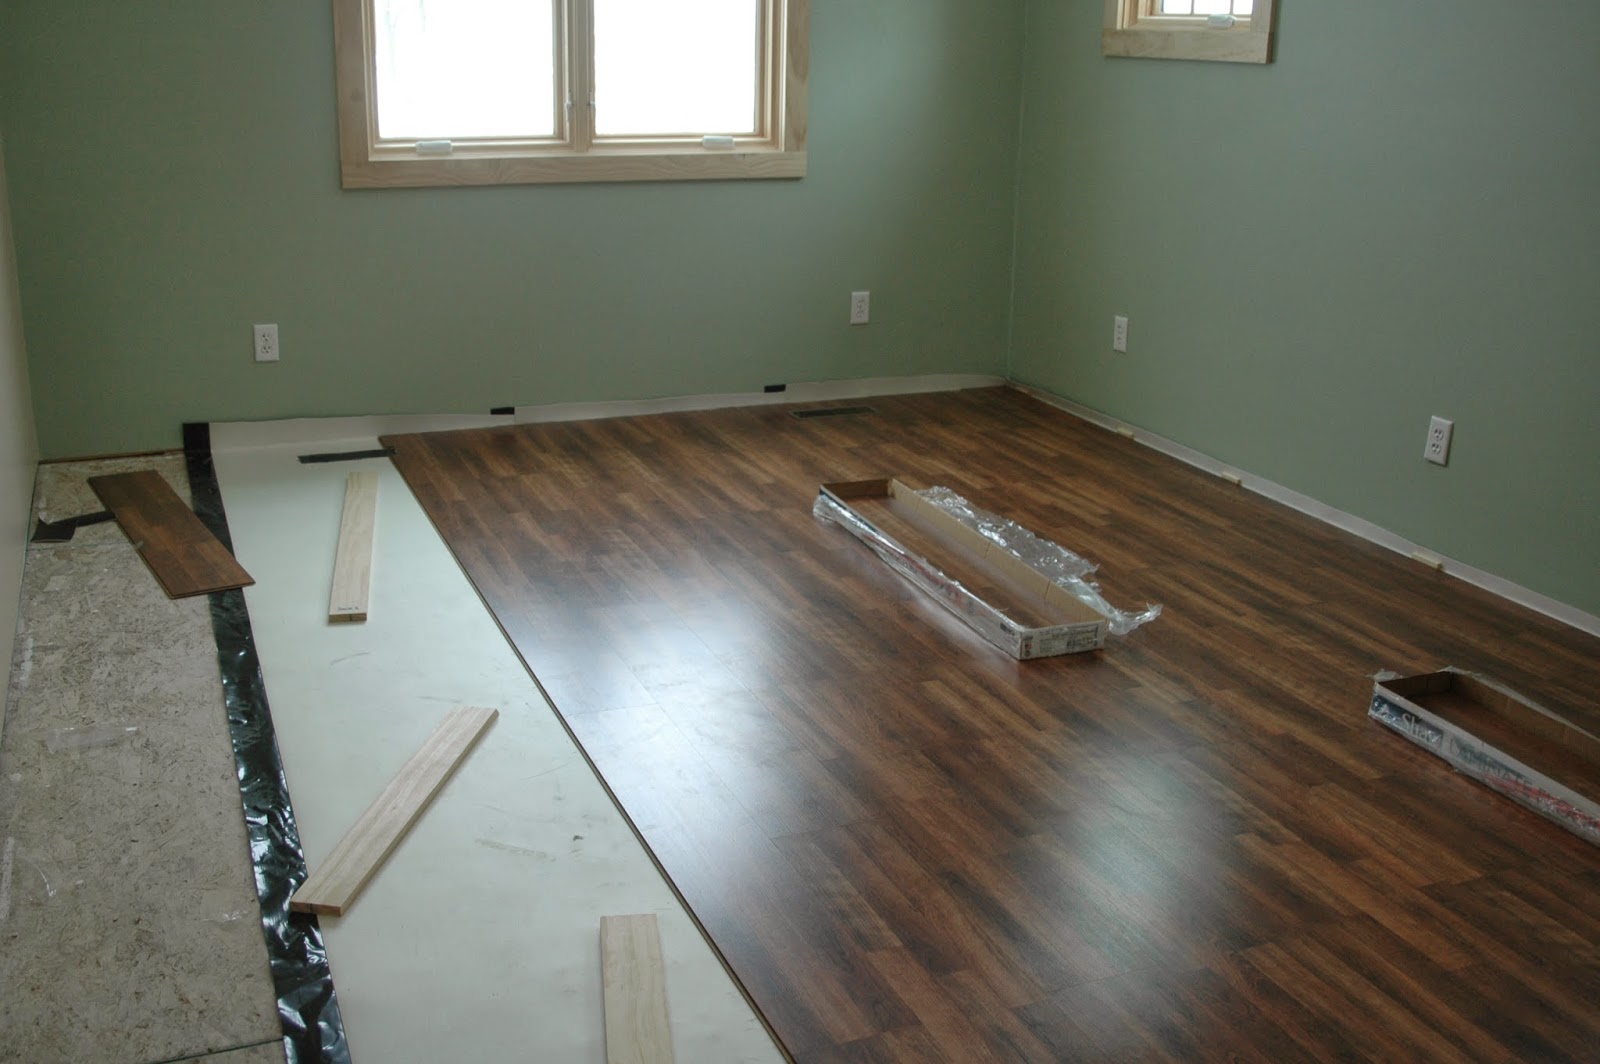
 |
| This shows the north wall with the first strip of underlayment in place and some of the flooring laid down to check lengths. |
 |
| The VersaLock system requires that each plank be held up at about a 30 degree angle along the total length before it is snapped into place. |
 |
| Two heat register openings along the west wall required that both the underlayment and the flooring be cut so the register covers could be installed. |
 |
| Here's the first three rows of flooring and the beginning of the fifth row. |
 |
| Rows were installed from north to south and from west to east. Often a row didn't properly snap tight. I then had to disconnect the planks and start over from the west. This is where a second pair of hands would have helped. |
 |
| Here the flooring has reached the second heat opening. It's beginning to look like a finished floor. |
 |
| Along the south wall the underlayment needed to be cut roughly in half lengthwise. |
 |
| This is where the floor will abut the bath threshold. The molding is laying [upside down] on the bathroom floor. |
 |
| This shows the underlayment through the entry door opening. |
 |
| Here is the floor at the southeast corner of the room. Both moldings can be seen. And, the tape is holding the glued planks together. |


The room is really coming together. Floor looks good- dark but not too dark.
ReplyDelete